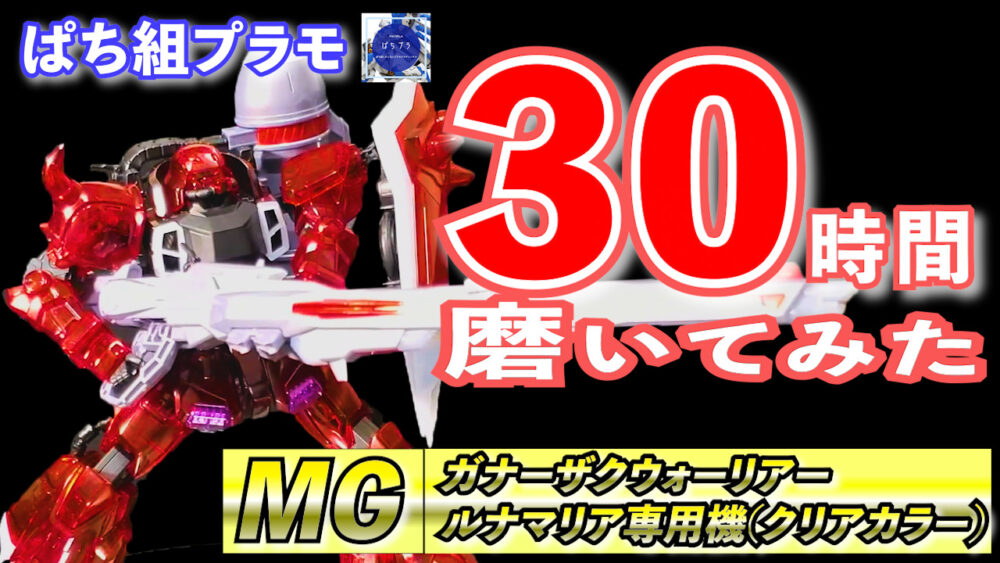
【初めてのガンプラ】買ったら必ずすべきたった1つのこと【初心者向け】
二児パパ
0から始めるプラモデルブログ
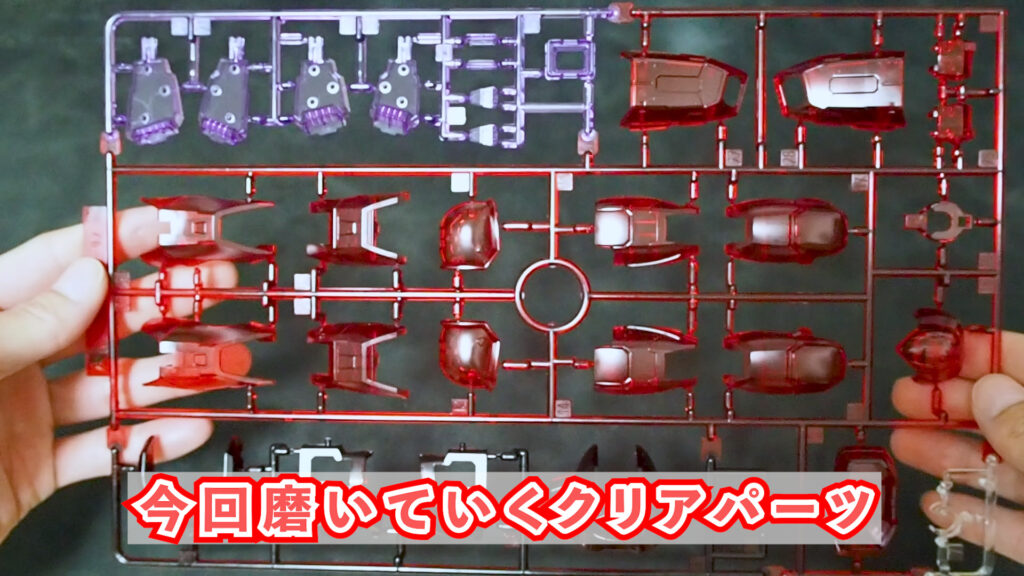
ガンプラはぱち組でも十分な色分けが特徴です
色付きのパーツの中に入っているのが、
クリアパーツ
これ、こだわって仕上げしていますか?
クリアパーツはヤスリとコンパウンドで、
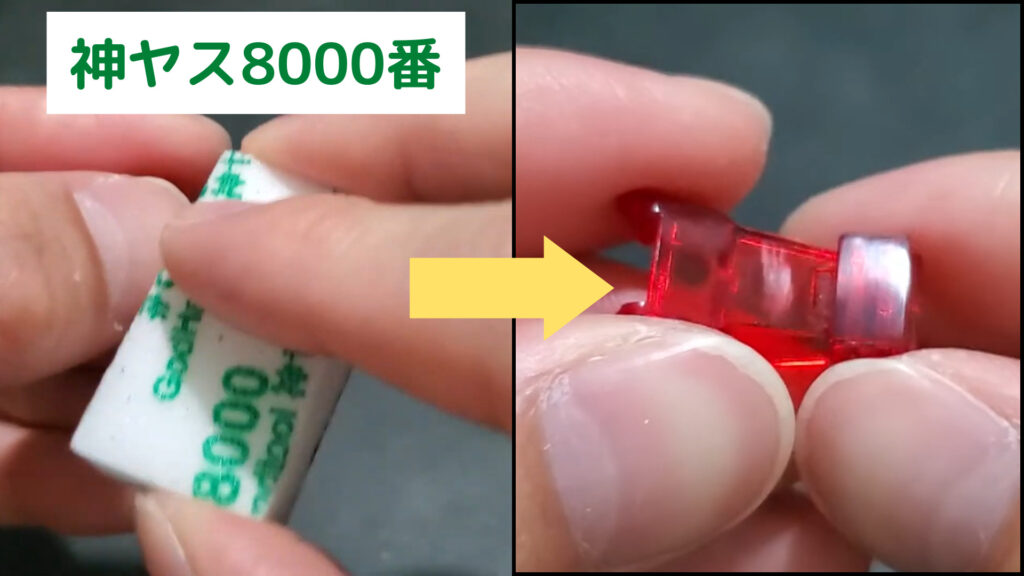
磨けば磨くほど、
光沢が出て、輝きが増します
やり方はシンプル
小さい番手から
ひたすらに
ただひたすらに
徹底的に磨く
単純作業を大量の時間を消費するので、
時間と根気が絶対必要!
今回はクリアパーツを徹底的に磨いて、
光沢を出した作例をご紹介いたします
記事を読むより動画がいい方はこちらから

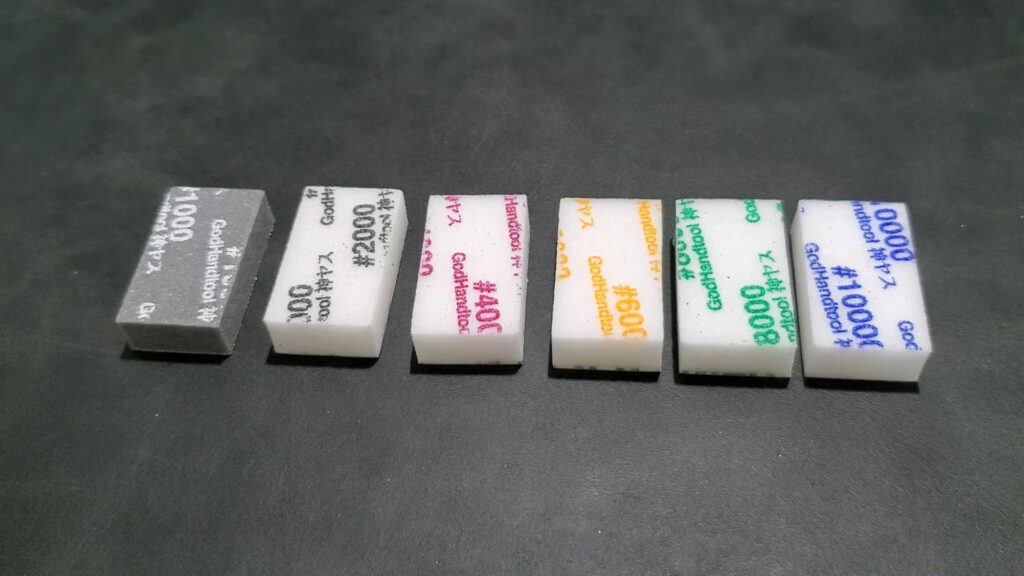
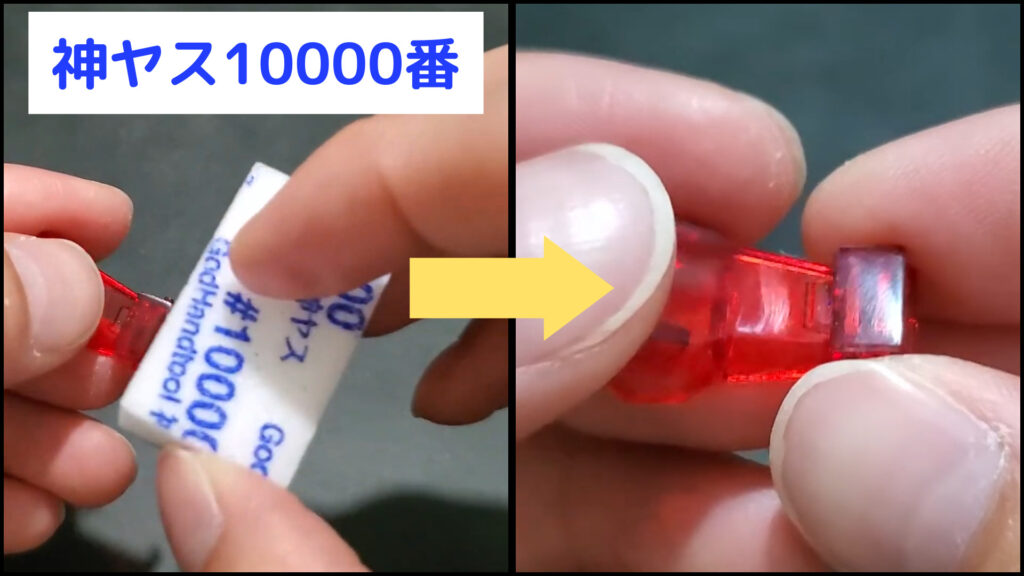
パーツを磨くのに準備するものは
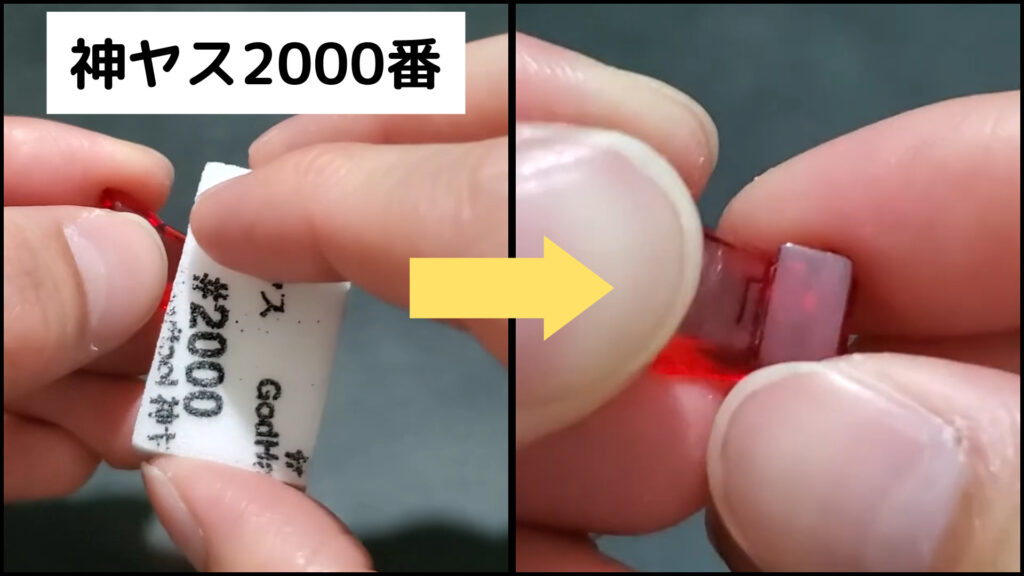
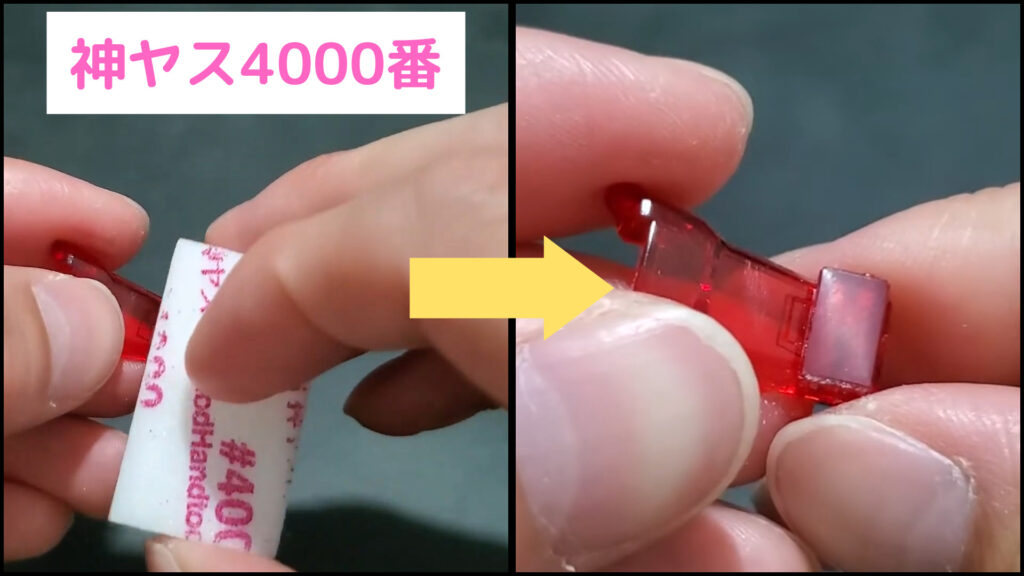
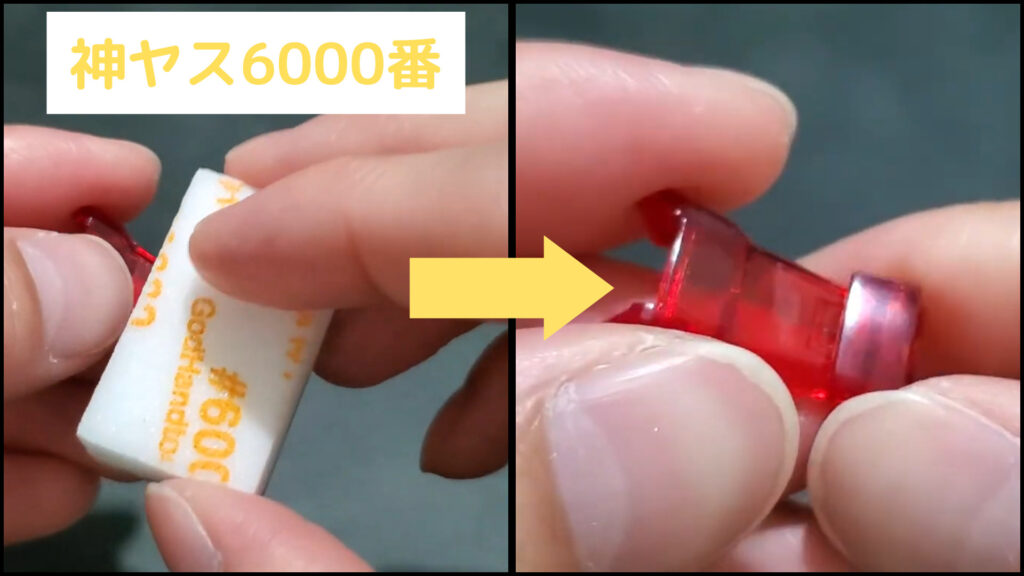
神ヤス
1000、2000、4000、
6000、8000、10000
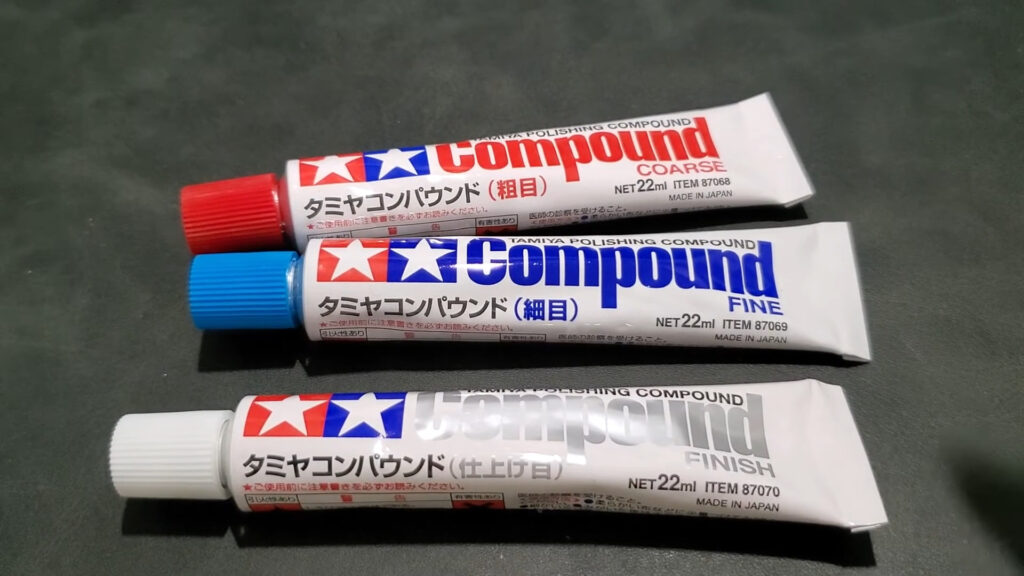
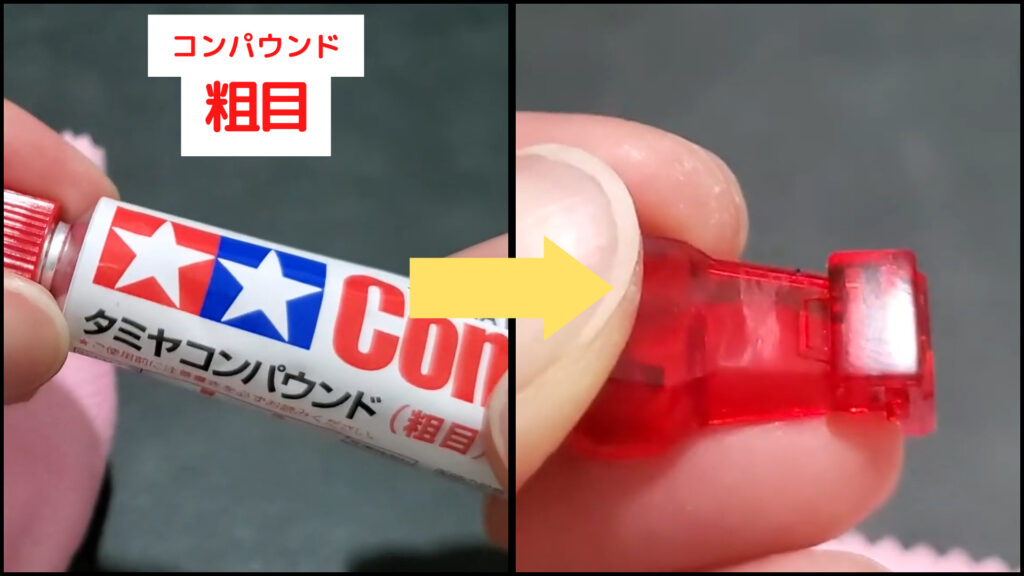
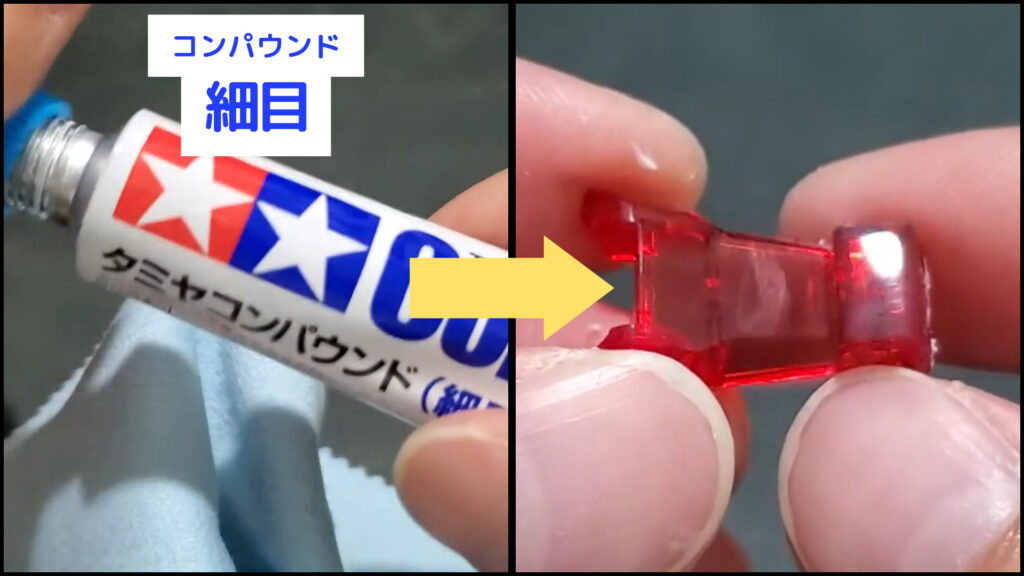
コンパウンド
粗目、細目、仕上目
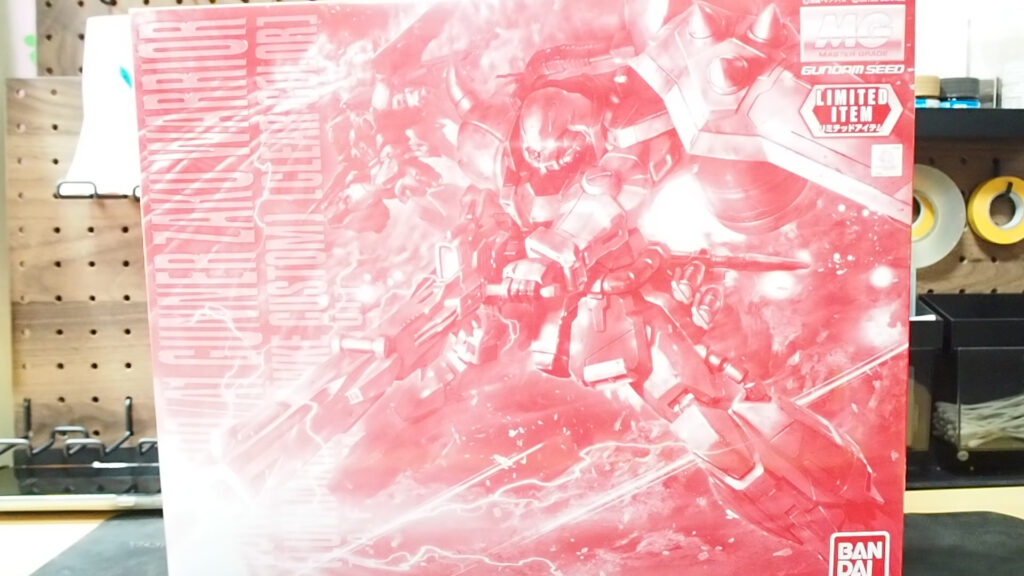
ガンダムベースで販売されている
ガナーザクウォーリア(ルナマリア専用機)
クリアカラーバージョン
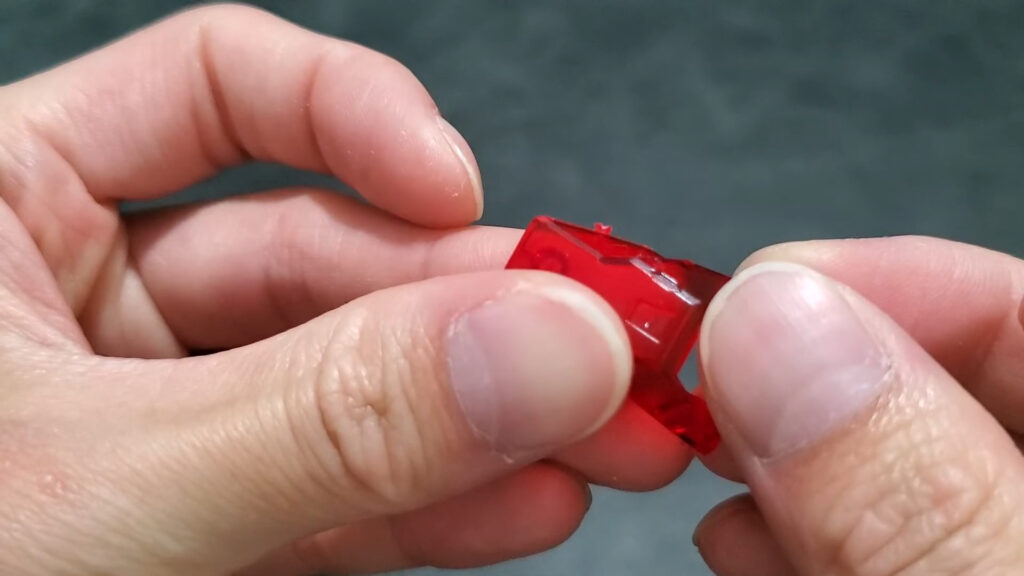
ゲートカットで注意することが一つ!
ゲート跡が白化するとリカバリーが難しい
パーツの中まで白化してしまうと、
パーツが変形するくらいに削らないとダメ
ゲートカットは少しだけ残し、
デザインナイフで削る
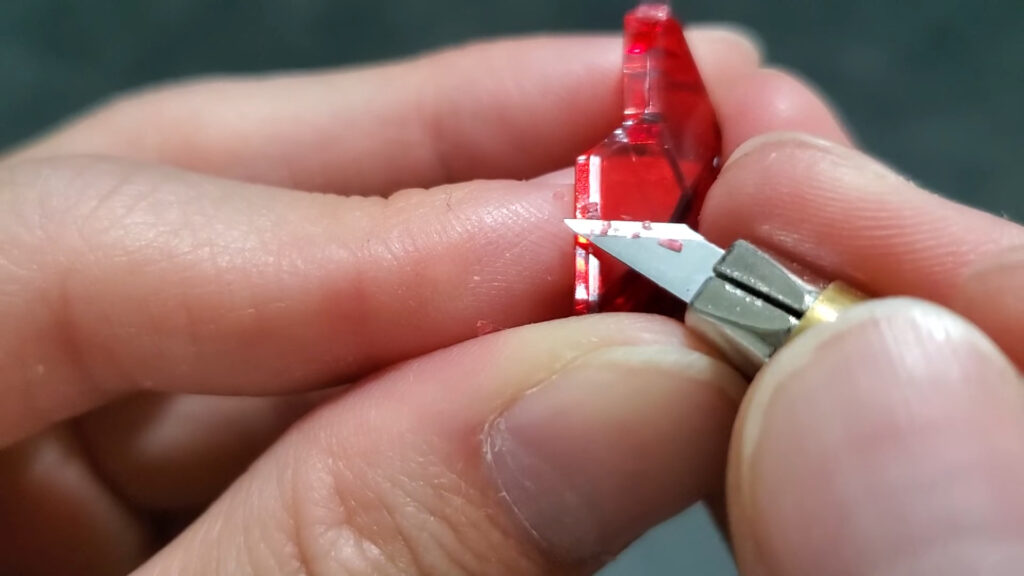
白化していなければOK
この後コンパウンドまで使用するので、
ゲート跡は400番からやすりがけ
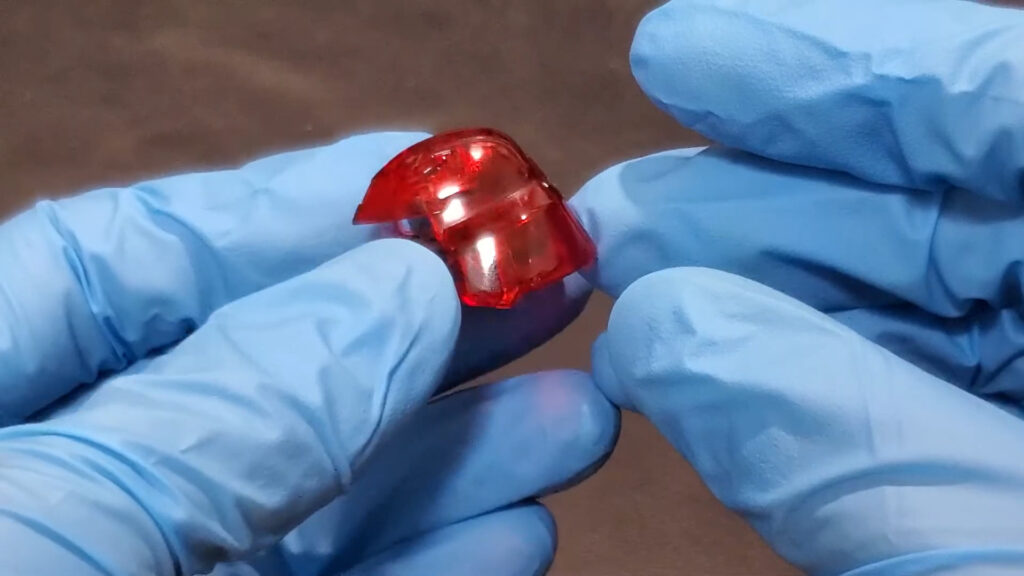
1000番のやすりから磨きます

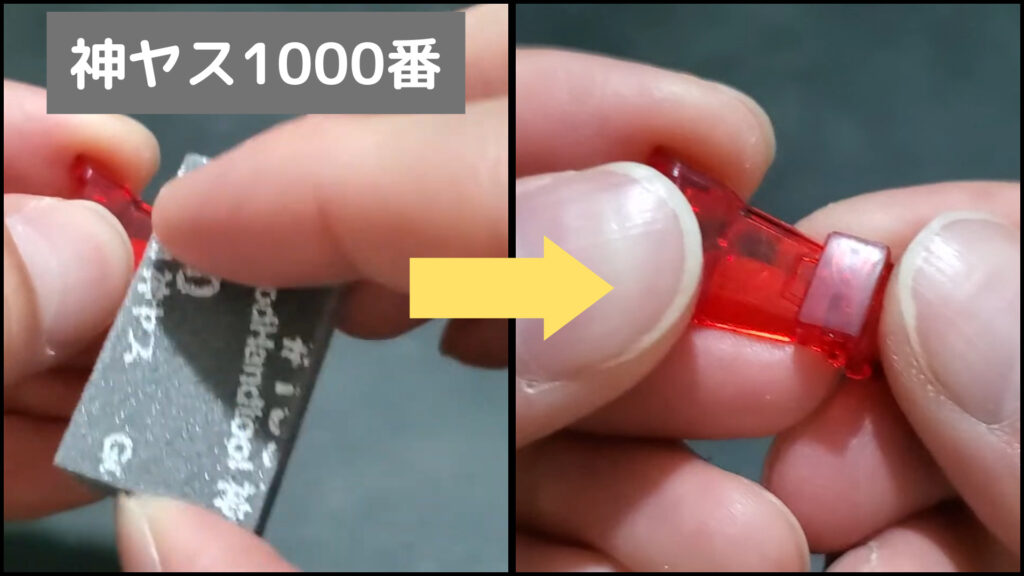
続いてコンパウンドを使用
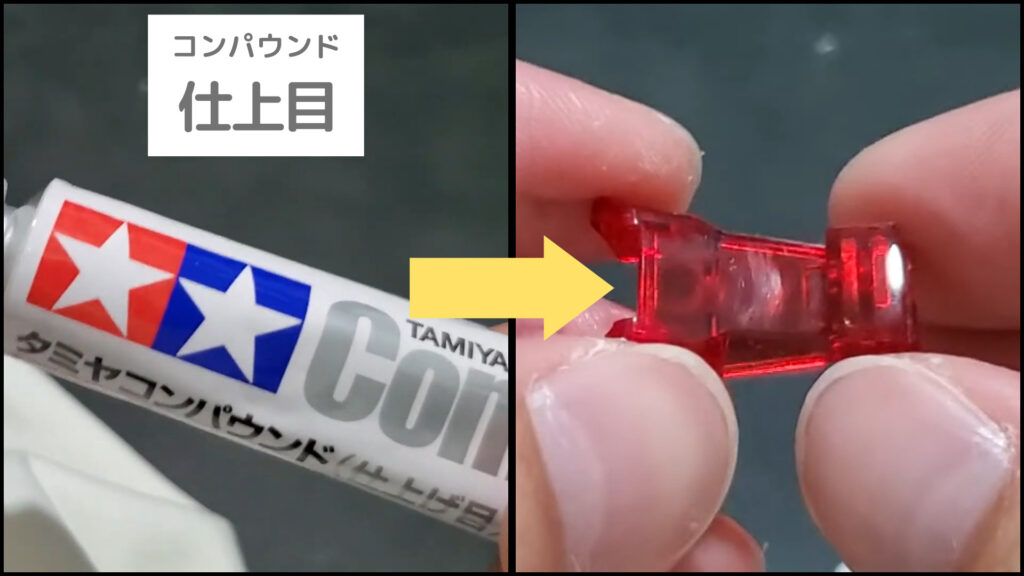
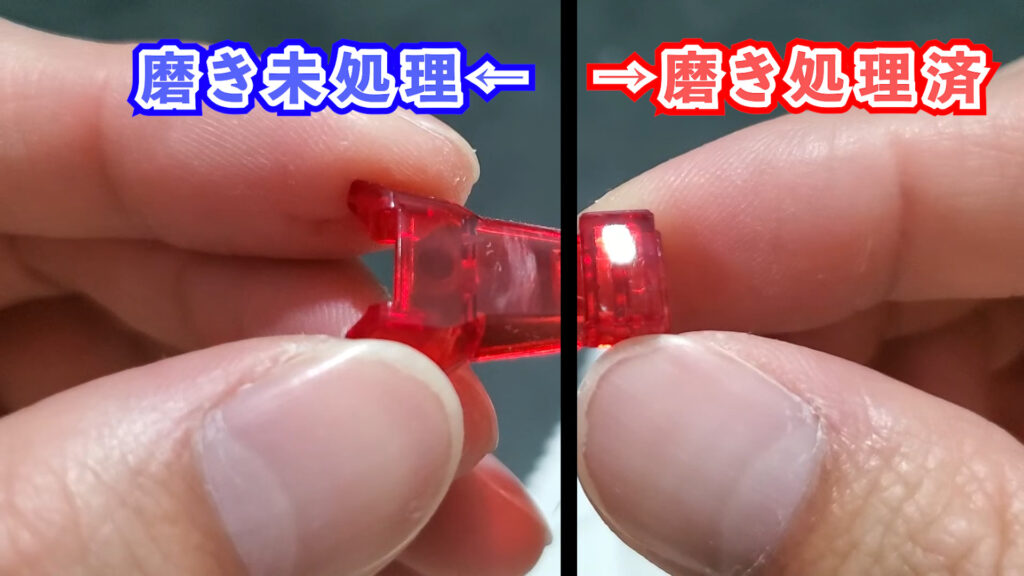
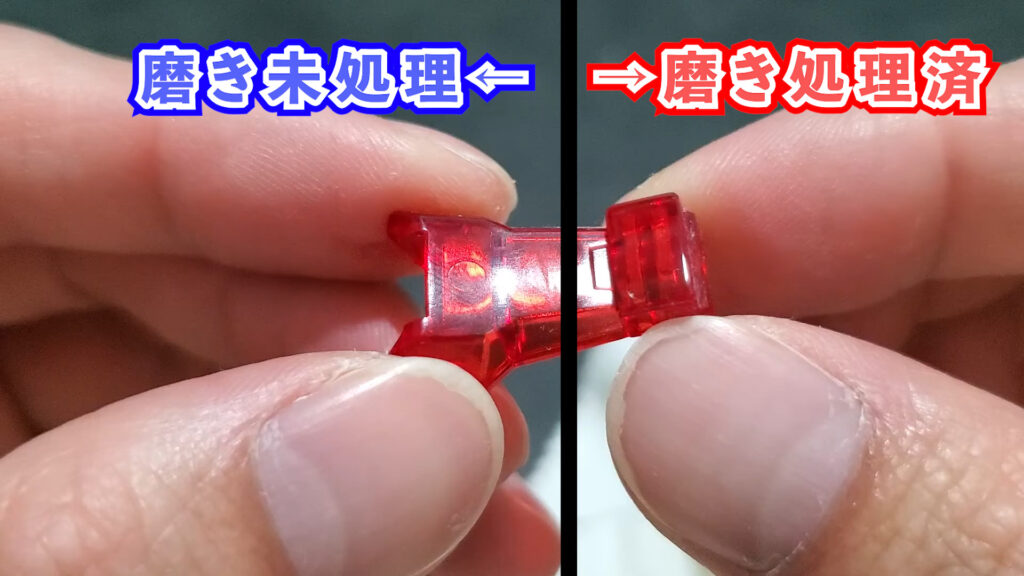
これで磨きが終了
下の画像のように、
ライトの映り方が全然違います
これを全てのクリアパーツにやると、
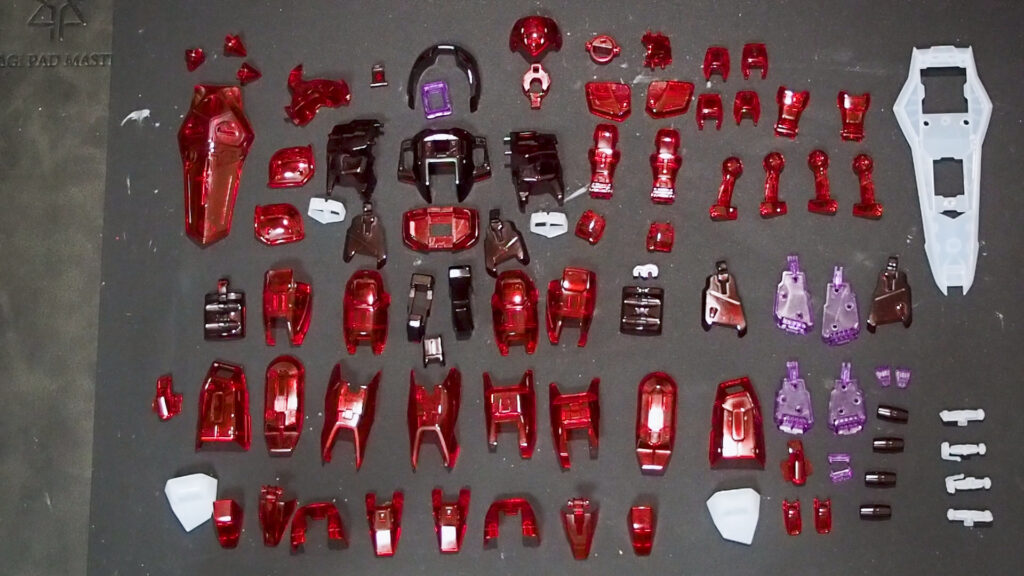
30時間かかりましたw
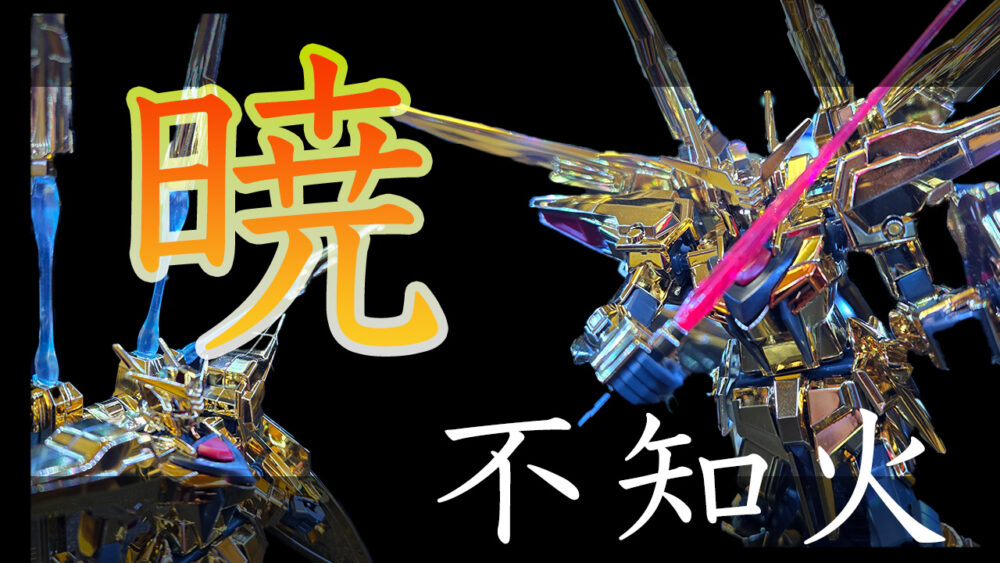
組み上げると…
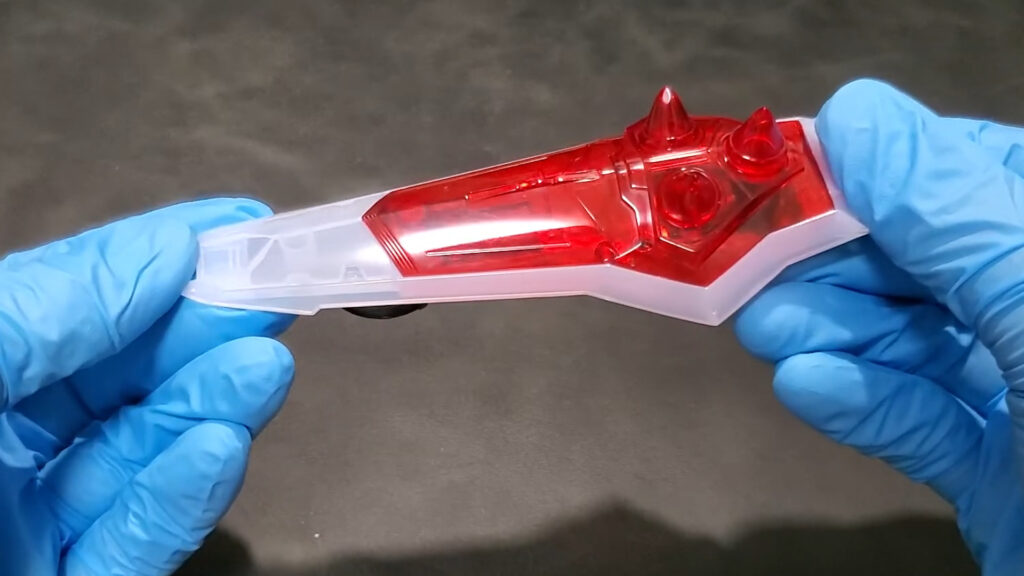
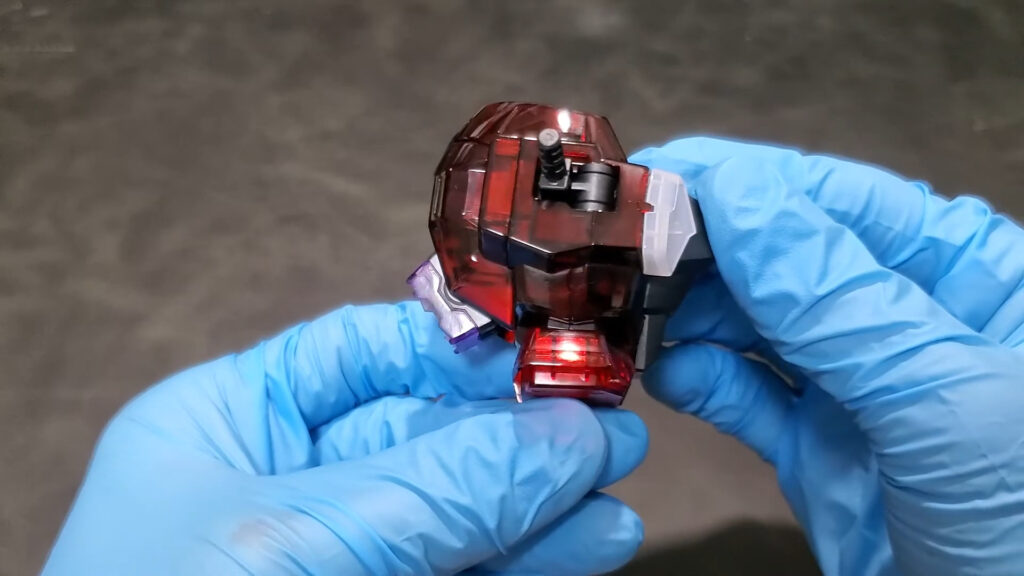
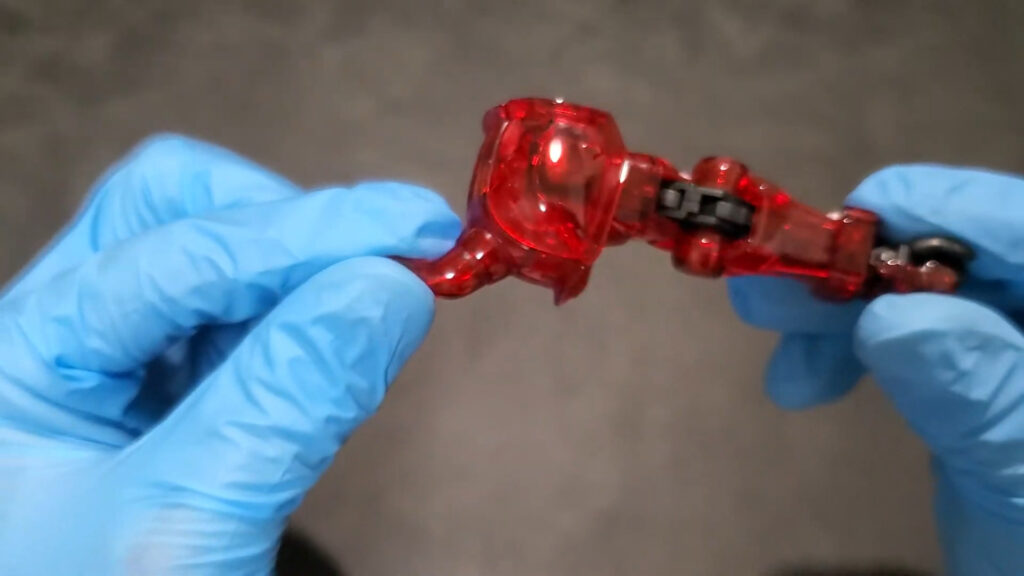
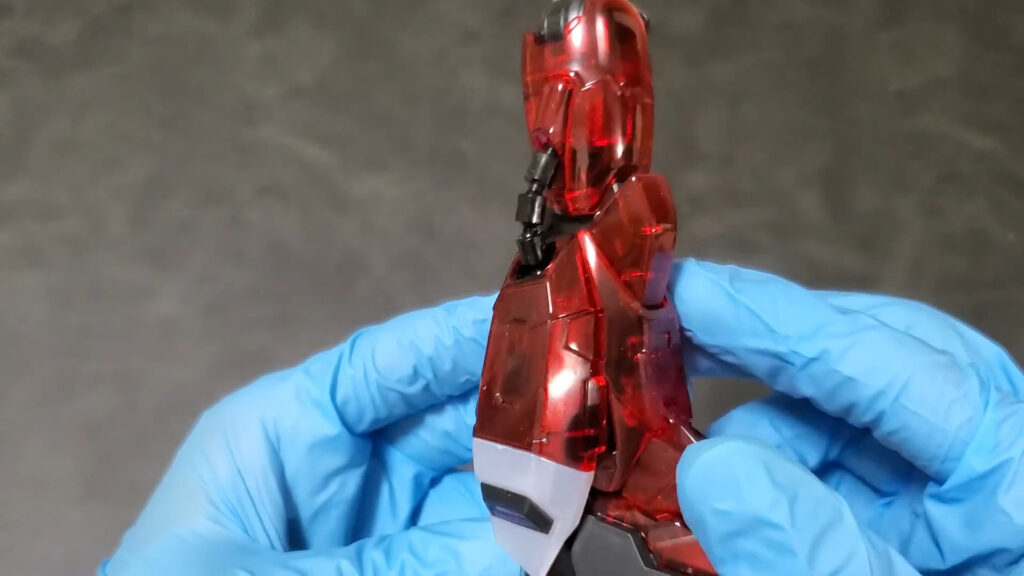

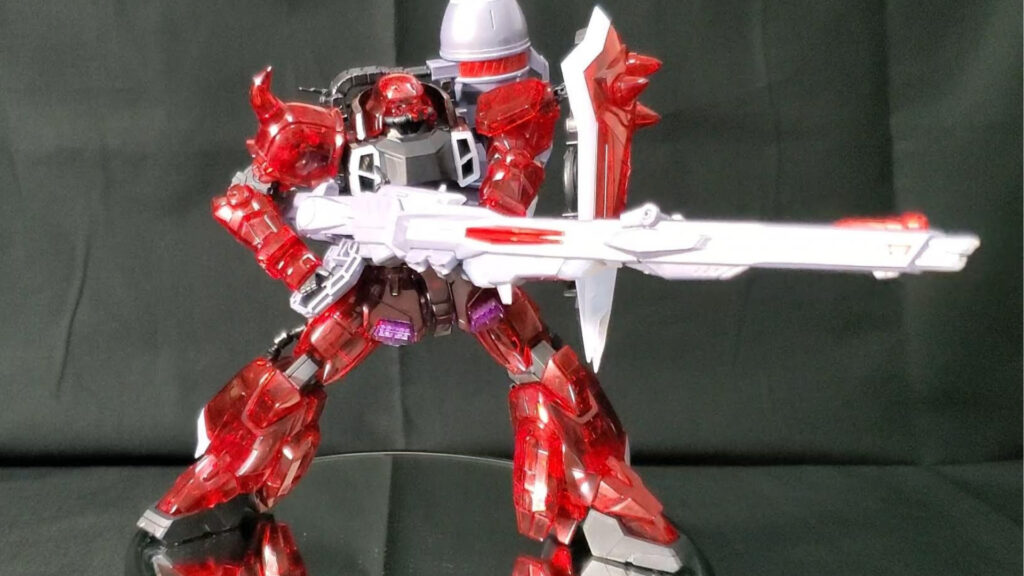
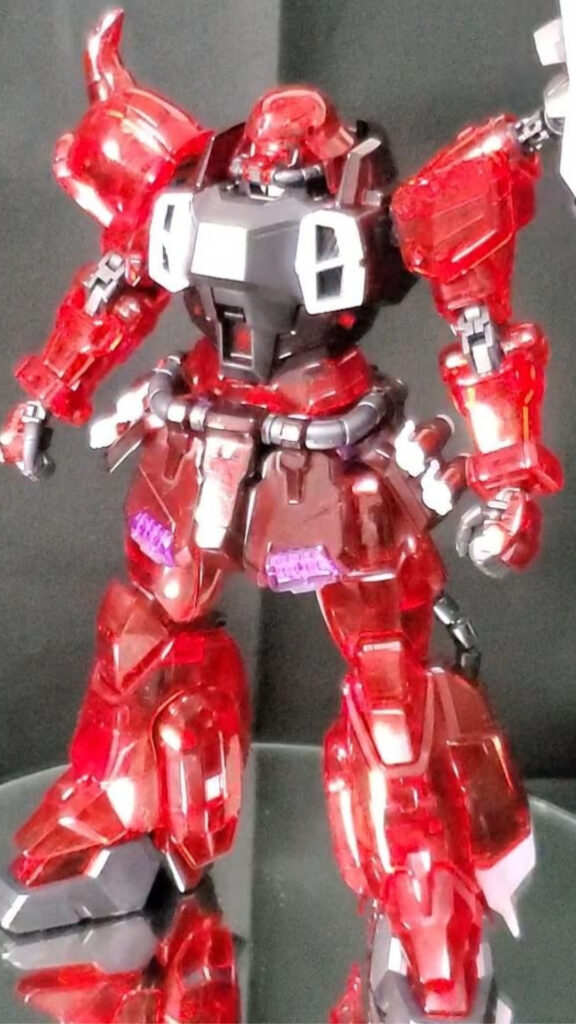
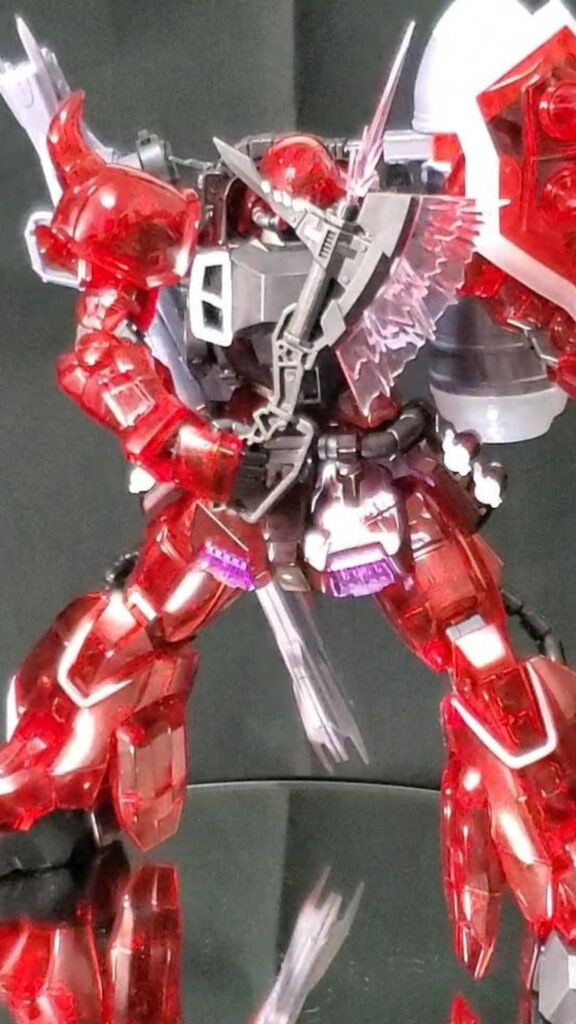
光の当て方でここまで輝いて見えます
今回はクリアパーツを使用して、
やすりやコンパウンドの使用方法、
仕上がりをご紹介しました
メリット
デメリット
デメリットが大きいので、
私のようにやるのはオススメしませんw
経験としてはいいのですが…
以上、「クリアパーツを磨いてみた」でした
皆さんのクリアパーツの輝きが、
より一段と増したり、
ゲート跡の処理のお役に立てたら嬉しいです
では/